

Creating an SAP HANA table with SQL Script
Welcome to the next SQL script for SAP HANA tutorial for beginners. In this tutorial, we will create a SAP HANA table with SQL script. This is a continuation of our series outlining the different ways in which you can create tables in SAP HANA. It is highly recommended that you read the first part where we discuss the graphical method.
To recap, the main methods to create a table are:
- Using the graphical method that has been already discussed.
- Using SQL Script which will be discussed here.
- Using the HDB tables method discussed in a separate tutorial.
- Using the HDBDD method discussed in a separate tutorial.(Recommended method in non XSA projects).
- Using the HDBCDS method which would be discussed in a future tutorial(Recommended method in XSA projects).
SAP HANA Table: HANA Create statement Syntax
Let’s create the exact same table that we did using the graphical method with fields Customer number, First name, Last Name and revenue in USD. The syntax to be used is
CREATE <table _type> “ <table _name>”
(
“<field1>” <data type 1> <Nullability_criteria>
“<field2>” <data type 2> <Nullability_criteria>
“<fieldN>” <data type N> <Nullability_criteria>
PRIMARY KEY (“<primary_key_field1>”,”<primary_key_field2>” )
) ;
What does this even mean?
<table_type> can have many values but the important ones are ROW and COLUMN. I have discussed what these are in a separate tutorial. The default is a ROW table and hence even if do not write ROW, a row table will get created. But for analytical applications, we prefer to use COLUMN tables and hence here, <table_type> should have COLUMN in all analytical requirements.
<table_name> is a self-explanatory statement wherein you specify the table name which you wish to create. The important point to note here is that the schema name where the table needs to be created needs to be specified in this statement. For example if you need to create the table ORANGES under schema FRUITS, then <table_name> would be “FRUITS”.”ORANGES”
<field> refers to the name of the fields you wish to add in this table.
<data type> refers to the data type of the field you are trying to add.
<Nullability_criteria> takes the values NOT NULL if the field is a primary key or if you want to restrict the incoming data in this table to have no NULL values.
<primary_key_field> takes all the primary key field names separated by a comma.
Note: Always be careful with the position of the brackets. Try to follow the syntax shown above. Also end all SQL statements with a semicolon.;
SQL Script example to create a SAP HANA table
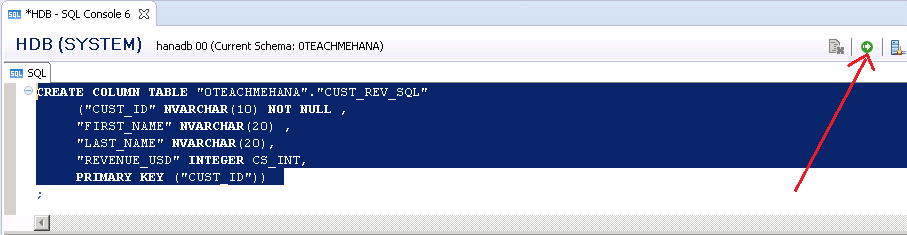
With this logic, our SQL code for a new table (which we cleverly name as CUST_REV_SQL) with the same structure as the one we built in the graphical table tutorial would look as below.
CREATE COLUMN TABLE “0TEACHMEHANA”.”CUST_REV_SQL”
(“CUST_ID” NVARCHAR(10) NOT NULL ,
“FIRST_NAME” NVARCHAR(20),
“LAST_NAME” NVARCHAR(20),
“REVENUE_USD” INTEGER ,
PRIMARY KEY (“CUST_ID”))
;
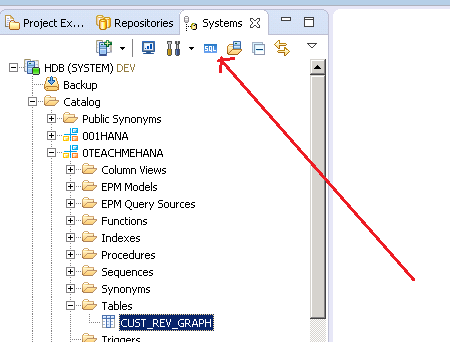
Open the SQL editor by clicking somewhere in the schema tree and then pressing the SQL button as it becomes active.

Let’s copy this code to the SQL editor and press the execute button marked below or press the F8 button after selecting the code.

The message for successful execution is shown below. Now we refresh the Tables folder to see this newly created masterpiece.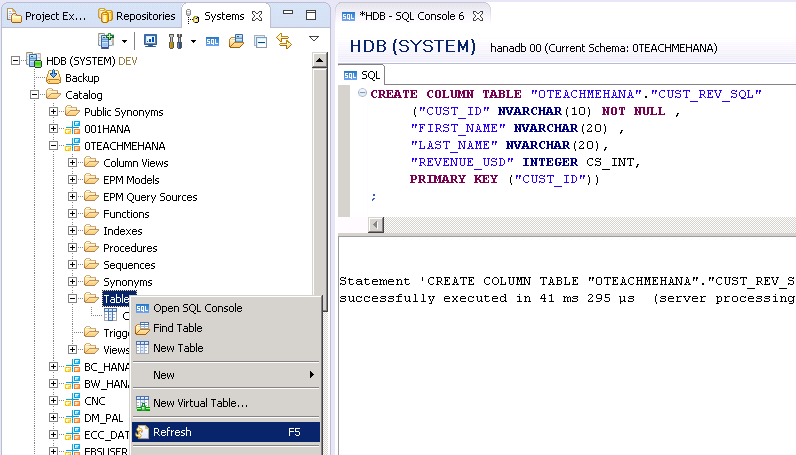

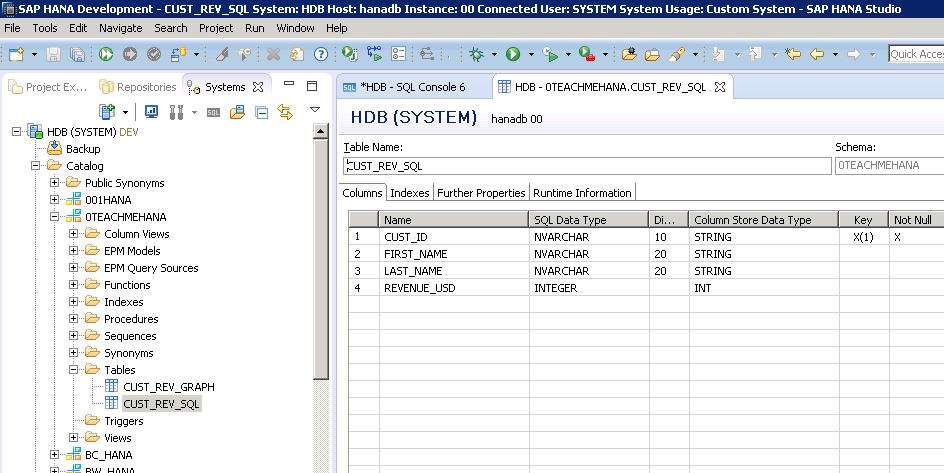
The new table has been created as seen and double clicking on it reveals that the structure is also as we intended it to be.

This concludes this tutorial on creating tables with SQL script in SAP HANA. Please read the next part of Table creation tutorial – Creating HDB tables. You will really find it fascinating.
If you liked the content, please support this website by clicking the share buttons below to share it across social media and also subscribe for updates on new content.
Happy Learning.